|
文章連結 1232774086

moneyfunny 錢錢
 Lv.5:0 Lv.5:0  Lv.12 Lv.12
私訊
發言
+好友

2013-11-26 05:26:05
| |
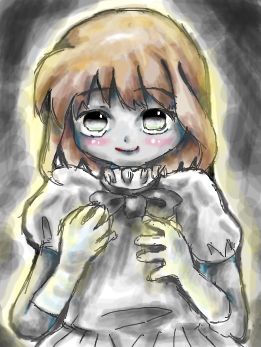
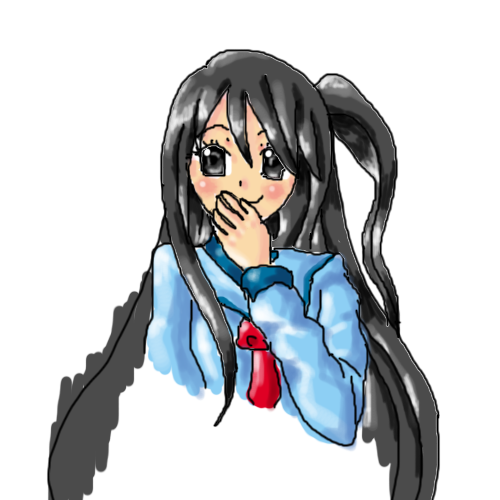
O.O我根據你的人物形象畫了一個
我想表達的是,即使是白色衣服,上色也是可以透過陰影表現立體感
我把從前的上色示範重貼好了...
------------------------------------------------------------------------------
(我也很隨便地畫一個簡單的上色過程吧@@
當然這是我的方法,網上(YOUTUBE)也有很多方法,輸入上色教學什麼的就好
唔...手有點難看,但因時間關係,別計較了XD
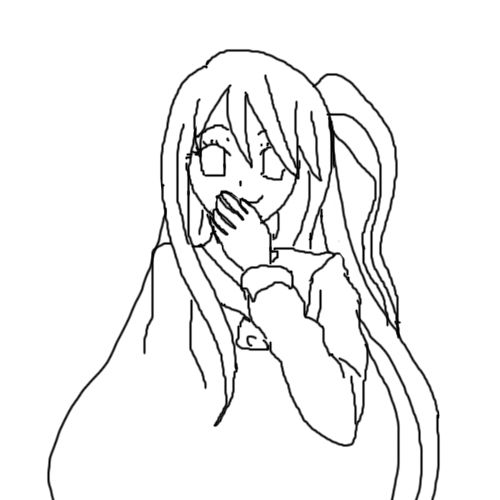
上底色了....
這是人物主要的顏色,然後要為人物上光與陰影了
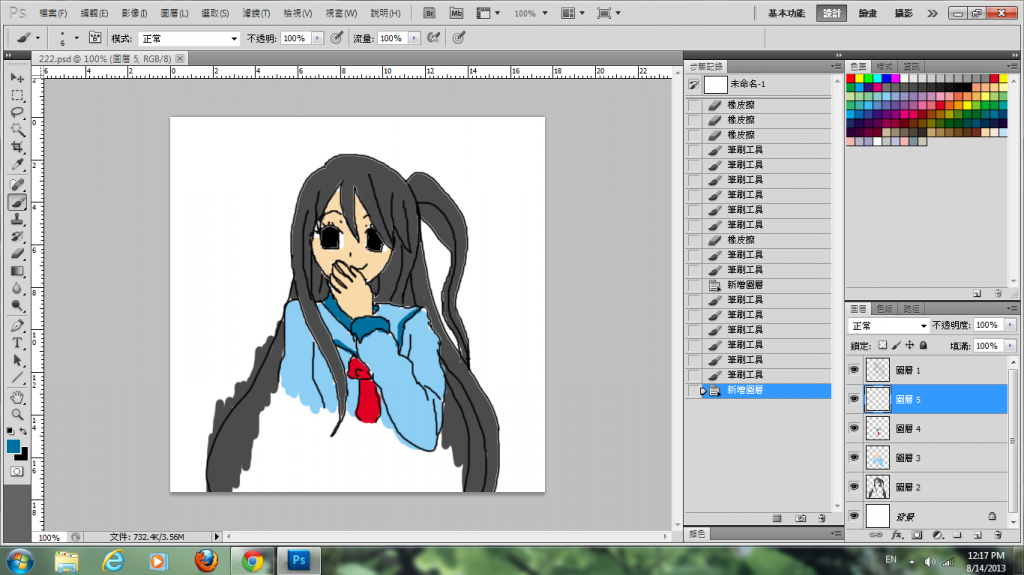
開新圖層,為臉部與眼睛增加顏色,畫得不好可以擦掉

筆刷選大範圍,透明度底的噴槍,大力地噴!頭髮2種色了!不明顯的!
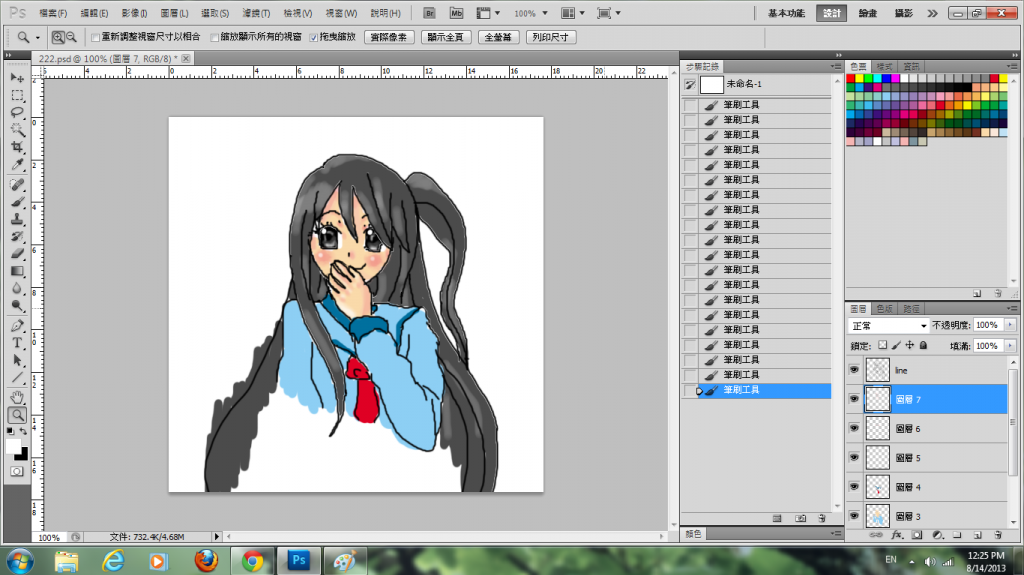
完成上面步驟後,選筆刷(小範圍),透明度高,在之前的淺色區域,在一些部分畫強光!
也在陰影部分加深色!!!!!
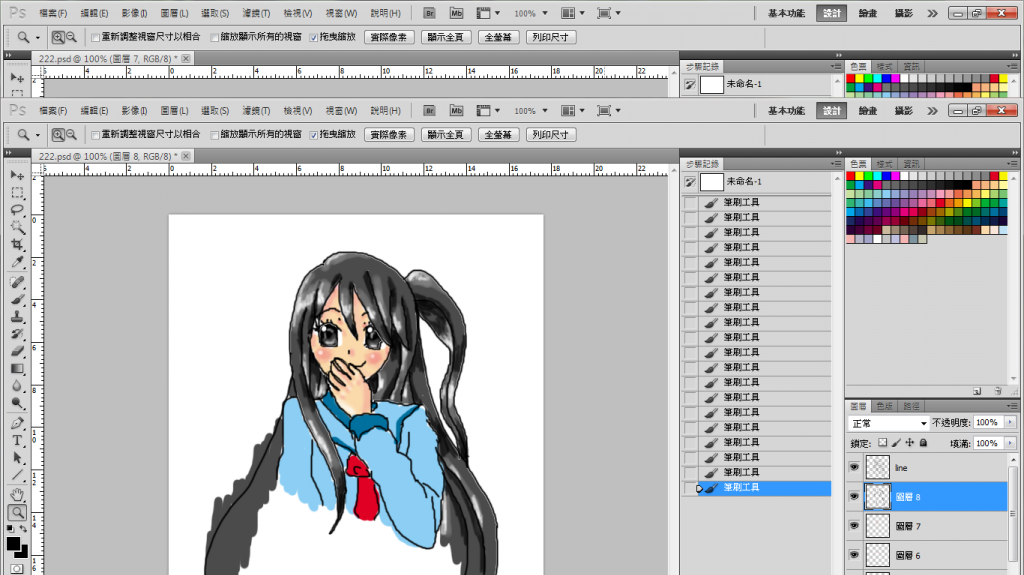
然後衣服也是相同方法上色
(這圖的上色當然不怎麼仔細,但方便大家清楚看到淺色深色就好了吧XD)(其實是懶...)
記著,光與陰影的位置是受物件的質感影響的!
--------------------------------------------------------------------
其他上色方法
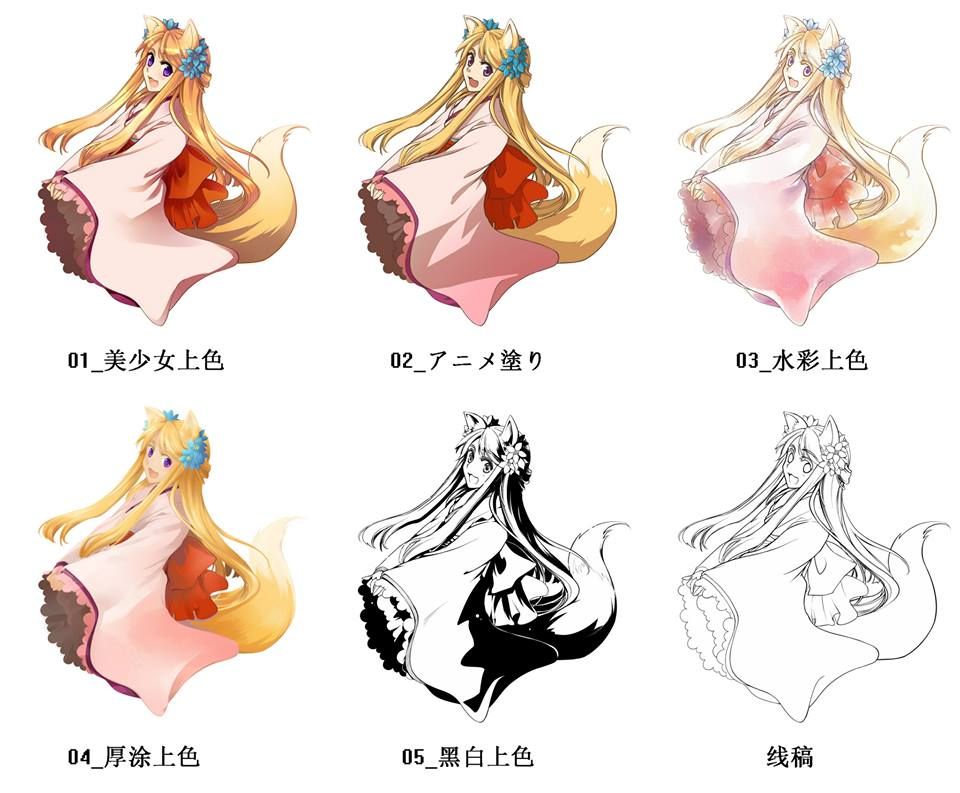
如果是卡通上色法,陰影位置也是要留意的
|